1. CONFIGURATION OF TIME STAMP PARAMETERS
Configuration within the FirmaCerta software is required for proper use of time stamps.
Go to FirmaCerta > Utility > TimeStamp Options
- Check that the URL is set to http://timestamp.namirialtsp.com or https://timestamp.namirialtsp.com
- Enter Username and Password and then click OK.
The Check available Timestamps function verifies time stamps purchased, used and remaining (if verification cannot be performed, check that the credentials have been entered correctly).
2. HOW TO TIMESTAMP A FILE
Upload the file to be stamped to the programme, and click Timestamp.
Select .TSD format for the Time Stamp.
Select a destination folder for the signed file, then click OK.
Confirm that you wish to apply the stamp and click OK. Once the operation has been processed, click OK to complete the procedure.
Upon completion of the procedure, the FirmaCerta software will have generated a new file.
3.HOW TO SIGN AND STAMP
Attention:
- To use this function, the user must have a digital signature and a batch of time stamps.
- Users without a digital signature and/or a batch of time stamps can purchase them from our Online Shop.
Once a file has been selected, this function allows a signature and time stamp to be applied in a single session.
Files signed and stamped using this process will be generated in CADES-T format (stamped file.pdf.P7M).
In CADES-T format (default), the stamp is associated with the individual signature and CANNOT be separated.
To apply a digital signature and time stamp to a document, proceed as follows:
- Click Sign and Timestamp in the programme
- Select a destination folder for the signed file, then click OK
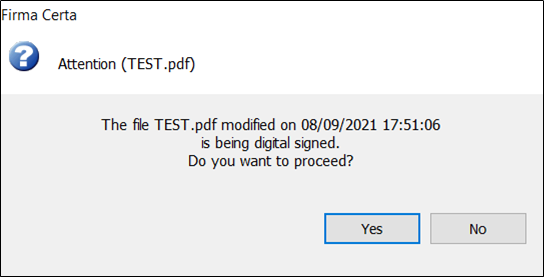
- Proceed with the signature operation by pressing Yes.
N.B. It is recommended to create a dedicated folder for "Digitally Signed Files".
- Enter the PIN of the digital signature device and click OK.
- Confirm that you wish to apply the stamp and click OK.
- Once the operation has been processed, click OK to complete the procedure.
4. HOW TO SEPARATE STAMP
This functionality allows the time stamp to be separated from a .TSD (TimeStamped-Data) file type.
N.B: this operation is only possible for files signed in .p7m format
4.1 Signing a document in .p7m format
Upload the file to be signed to the programme and click Sign.
N.B: The FirmaCerta software allows users to sign any type of file in CAdES format (i.e. .p7m); in the case of PDF or XML files only, a message will appear on the screen asking whether to sign in .p7m format or maintain the original format.
Once the user clicks "sign", a window will appear asking them to specify the format to use to sign the document.
Press No to apply a CAdES signature, in .p7m format.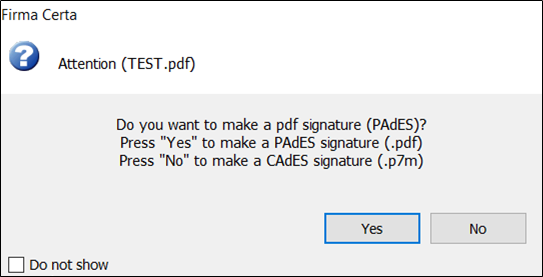
Select a destination folder for the signed file, then click OK.
Proceed with the signature operation by pressing Yes.
It is recommended to create a dedicated folder for "Digitally Signed Files".
Enter the PIN of the digital signature device and click OK.
Once the operation has been processed, click OK to complete the procedure.
4.2 Stamping file signed in .p7m format
Upload the file to be stamped to the programme and click Timestamp.
Select .TSD format for the Time Stamp.
Select a destination folder for the signed file, then click OK.
Confirm that you wish to apply the stamp and click OK.
Once the operation has been processed, click OK to complete the procedure.
Upon completion of the procedure, the FirmaCerta software will have generated a new file.
4.3 Separating the time stamp
Upload the Time Stamped file to the programme and click Verify.
Select the time stamp from the verification tab, and from the tool menu click Separate Stamp and Document.
Select required stamp format, .TSR/.TST, and press OK.
Once the operation is complete, the user will have two files:
- A .TSR or .TST file containing the time stamp.
- A .P7m file containing the digitally signed file.
5.STAMPING MULTIPLE DOCUMENTS
The client makes it possible to select multiple documents simultaneously and time stamp them consecutively.
The FirmaCerta programme must be configured before performing the Bulk Signing procedure; to do so, go to Utilities > General Options and Timestamps
Select stamping format and select “Maintain Values for All Stamps" if you wish to maintain the same value for all files to be stamped
6.SIGNING AND STAMPING MULTIPLE DOCUMENTS
The client makes it possible to select multiple documents simultaneously and stamp them consecutively, entering the PIN just once.
The FirmaCerta programme must be configured before performing the Bulk Signing and Stamping procedure; to do so go to Utilities > General Options > Stamps:
The PIN code will be requested just once.
If the problem persit