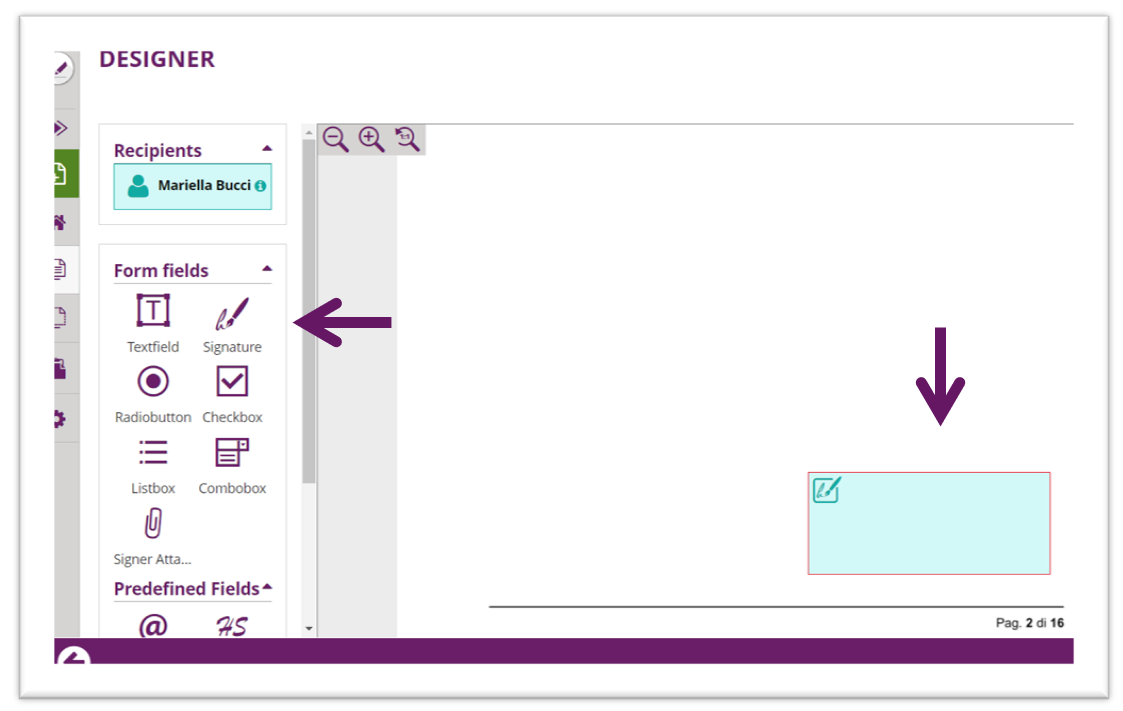
Once the document for signature is uploaded, the next step is to define a signature or add other Information for the recipient. Simply click and drag the SIGNATURE field from the menu and place it on the document.
Once you finish setting up the signature on your document, click Inside the box and will appear all the signatures available to sign the document.

You have different types of signatures.
From the Simple one: Click to sign, Draw to sign and Type to sign.
To the Advanced one: Biometric signature (in this case you will need a pad to collect the signature from the recipient), Local certificate (the recipients need to have or buy it from our store), Digital Remote Signature (QES) also in this case the recipient needs to already have one or to buy to sign in a qualified manner.
The SMS-OTP Signature is the most used one and you need only to know the telephone number of the recipient. This is not a qualified signature but use 2 factors of Identification: the email address and the Telephone Number.
Once you choose which signature fit your purposes, choose with a tick and go ahead.
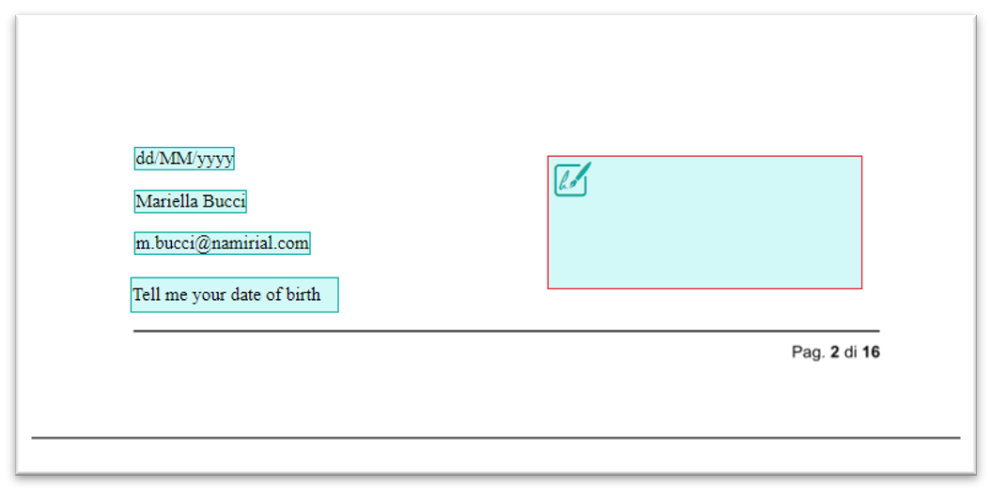
You can define other fields to complete your document:
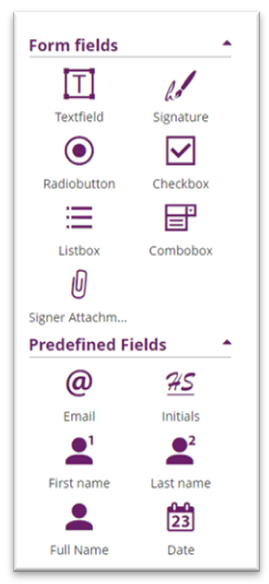
Such as insert automatically, Name, Date, List box, require inserting an attachment (as an ID) or you can easily add a free text field to ask additional information to the recipient.
Always dragging the field and positioning where you need to on the document.
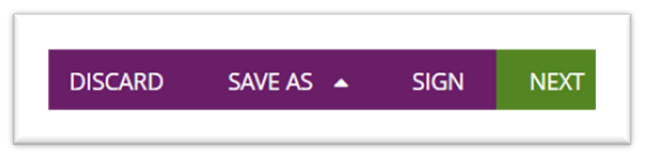
When you done you are ready to send the envelope clicking NEXT to the bottom of the page.